This article on Footprint Charts is the opinion of Optimus Futures.
Updated November 2026
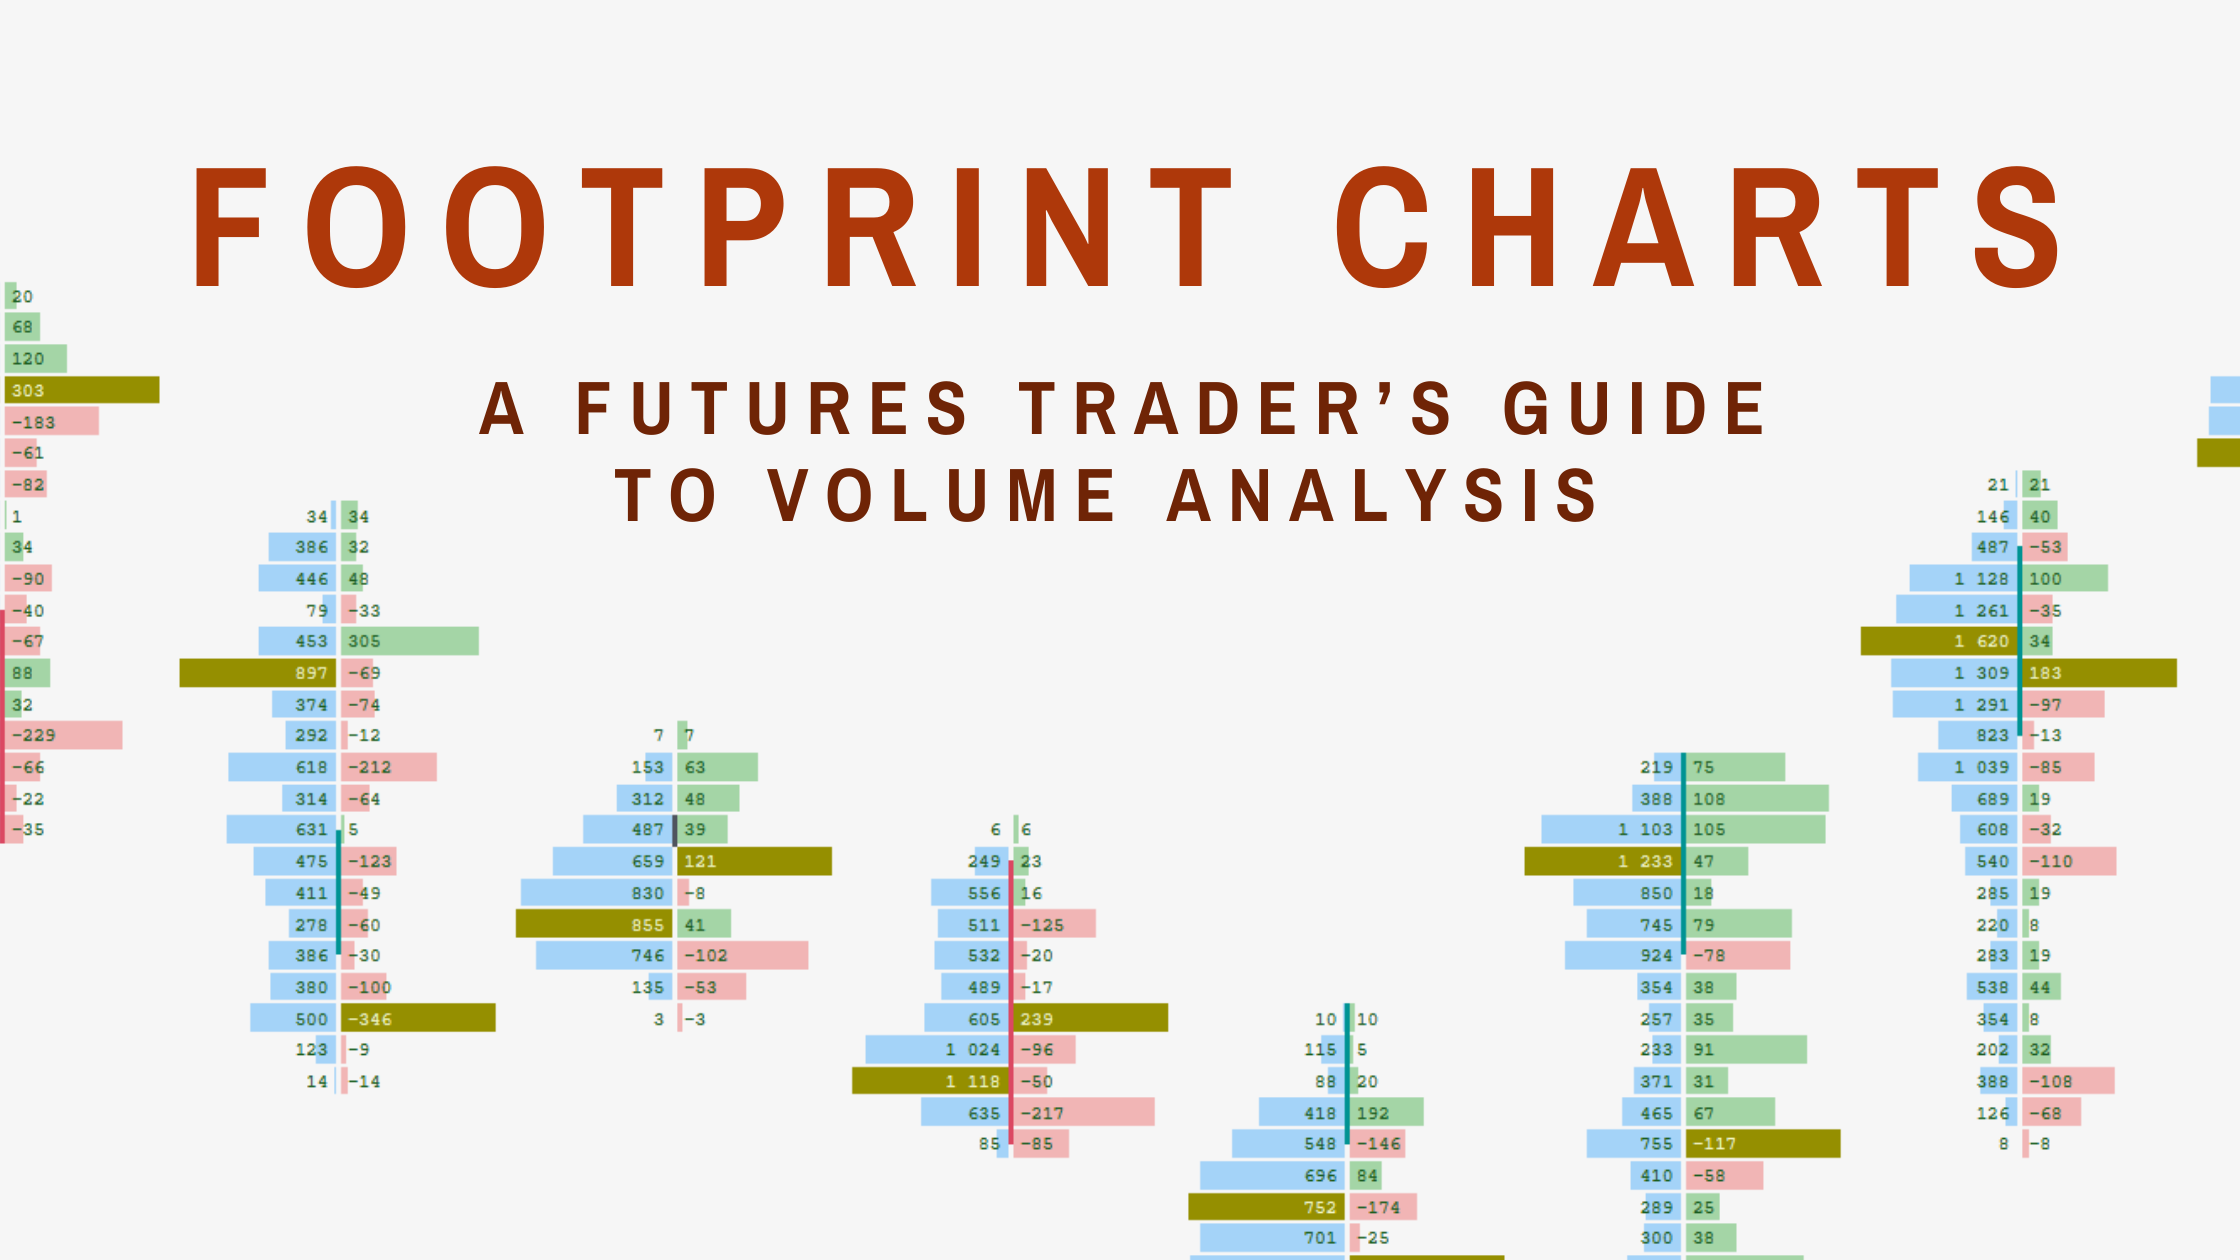
A footprint chart is a candlestick chart that also shows how many contracts traded at every price inside each bar, split into volume that hit the bid (sellers) and volume that lifted the offer (buyers). Futures traders use footprint charts to see which side was more aggressive at each price, where volume concentrated, and whether a move had real participation behind it. Because futures trade on centralized exchanges such as the CME, a footprint chart in a futures contract reflects every executed trade in that contract, not a partial slice of the market.
A Futures Trader’s Guide to Volume Analysis
Understanding what drives price changes in the market is essential for traders. Traditional charts, such as candlestick and line charts, display price fluctuations.
However, they fall short of showing the specific transactions at each price level. This is where footprint charts come in handy.
Footprint charts, also known as cluster charts, offer a deeper look at buying and selling activity within a specific timeframe.
They show trade volume at each price level, giving traders deeper insight into market behavior.
In this guide, we’ll explain what footprint charts are, how to read them, and how you can use them to improve your trading strategies.
We’ll also discuss different types of footprint charts and offer practical tips to help you get started.
Key Points:
- Footprint or ‘Cluster’ Charts analyze transactional volume inside a given timeframe.
- This analysis examines buyer-seller interaction to uncover opportunities.
- Footprint charts come in several flavors, including bid/ask, volume profile, and delta.
- Common footprint signals include stacked imbalances, unfinished auctions, high-volume nodes, absorption, and delta divergence.
- Traders can open a free simulated account and immediately access Optimus Flow’s footprint (cluster) charts and order flow tools.
What Are Footprint Charts?
A footprint chart is a multi-dimensional candlestick chart that shows traders the volume traded at precise price levels within each candlestick.
Think of it as a candlestick with notes describing how transactions occurred within that bar.
The now-defunct company MarketDelta created the footprint chart as a trademarked product in 2003.
Because of the trademark, different trading platforms use alternate names for footprint charts. Some synonymous terms for footprint charts include cluster charts, bid/ask profiles, and numbered bars.
How to Read Footprint Charts
To read a footprint chart, treat each row of a bar as one price level. The number on the left is the volume that traded at the bid (sellers hitting the bid), and the number on the right is the volume that traded at the offer (buyers lifting the offer). Compare the two sides at each price, then compare the bar’s net buying and selling (its delta) with where the bar closed.
Before we jump into trading strategies using footprint charts, let’s cover how to read one.
Take a moment to examine the side-by-side image below of a traditional candlestick chart (left) vs. a bid/ask cluster chart (right).
On the left side of the cluster chart are the sellers who were hitting the bid (sold). Meanwhile, the numbers on the right-hand side of the cluster chart show the buyers who lifted the offer (bought).
Using the 749 x 864 cluster as an example, at that price, 749 lots hit the bid (sold), and 864 lots lifted the offer (bought).
Cluster charts allow market traders (especially day traders of Futures) to examine the executed orders within a candlestick chart and analyze the interaction between buyers and sellers.
Reading a Footprint Bar in Four Steps
- Find the busiest price. The row with the most total volume is the bar’s point of control. It shows where both sides agreed to do the most business.
- Check the high and the low. A bar extreme with trades on both the bid and the ask is an unfinished auction, and price often comes back to finish it. A zero on one side at the extreme is a finished auction. More on that below.
- Scan for imbalances diagonally. Compare the ask volume at one price with the bid volume one tick lower, because those two prices were the offer and the bid at the same moment. Many platforms flag an imbalance when one side is 300% (3 to 1) of the other. Adjust the threshold for the market you trade.
- Compare delta with the close. A bar that closes near its high with positive delta shows buyers drove the move. A bar that closes near its high with negative delta shows the move happened without aggressive buying behind it.
Footprint Charts vs Candlesticks vs Depth of Market
As previously discussed, a footprint chart is a multidimensional candlestick chart that shows trading volume at precise price points over a given period. A standard candlestick shows the open, high, low, and close without intrabar transaction information.
Depth of Market (DOM):
DOM measures supply and demand for a liquid, tradeable asset. Also known as the order book, DOM shows you how many open orders and relevant quantities exist at each price.
In the screenshot below from Optimus Flow, you can see the different bid and ask quantities across price points in the E-Micro S&P 500 Futures.

The core difference between a footprint chart and a DOM: the DOM shows resting limit orders that have not traded yet (liquidity), while a footprint chart shows orders that have already executed (volume). On the DOM, resting orders can be pulled before price reaches them. Volume on a footprint chart already happened and cannot be pulled. Many futures traders run both side by side: the DOM to see where size is waiting, the footprint chart to see what actually traded there.
| Tool | What it shows | Executed volume by side | Resting orders | Best for |
|---|---|---|---|---|
| Candlestick chart | Open, high, low, close | No | No | Trend and pattern reading |
| Footprint chart | OHLC plus bid and ask volume at every price in the bar | Yes | No | Intrabar aggression, imbalances, absorption |
| Depth of Market (DOM) | Current bids and offers waiting at each price | Last trade only | Yes | Order entry, liquidity at the moment |
| Volume profile | Total volume at each price over a session or range | Total only (side shown only in a delta profile) | No | Value area, point of control, high and low volume nodes |
Best Footprint Charts
The three most common types of footprint charts are bid/ask, volume, and delta.
- Bid/Ask Footprint: This is the most common type of footprint chart. The Bid/Ask Footprint displays the number of contracts traded at the bid and ask prices for a given period.
- Volume Profile: The volume footprint shows the total number of contracts traded at each price without regard to whether the trade was a bid or ask. This can show price levels where both buyers and sellers are interested.
- Delta Footprint: While using delta within order flow trading can be complex, the concept of delta is straightforward. At its core, delta represents the difference between completed orders at the bid and offer for a particular price.
Reading the Delta Example
Using the image below as an example:
- The first delta is 826. This means 1,514 buyers lifted the offer against 688 sellers who hit the bid.
- Next, we have a delta of -436. This means that 1,956 buyers lifted the offer against 2,392 sellers who hit the bid.
- Next is a delta of -75, meaning 2,402 buyers lifted the offer against 2,477 sellers who hit the bid.
Understanding the volume differences buyers and sellers initiate at different price points can help a trader determine which party is more aggressive. This information can possibly confirm a trader’s suspicions about an emerging price trend.
Note: Volume at the bid indicates sellers. Volume at the ask indicates buyers.
Which Footprint Type Should You Use?
Start with a bid/ask footprint to see who traded where. Switch to a delta footprint when you only care which side was more aggressive at each price. Use a volume footprint to find the prices with the heaviest trade, which often act as support or resistance later. Most platforms let you combine views, for example, bid/ask numbers inside the bar with a delta and total-volume summary printed under it.
How to Analyze Order Flow Using Footprint Charts
Footprint charts are a core tool in order flow analysis. They expand on the volume and transactions within a timeframe to create context. Our analysis should seek to understand this additional information.
Key Analysis Points:
- Imbalances: Lopsided amounts of buying or selling
- Order blocks: Large amounts of contractual volume occurring
- High volume nodes: Areas where heavy amounts of volume collect
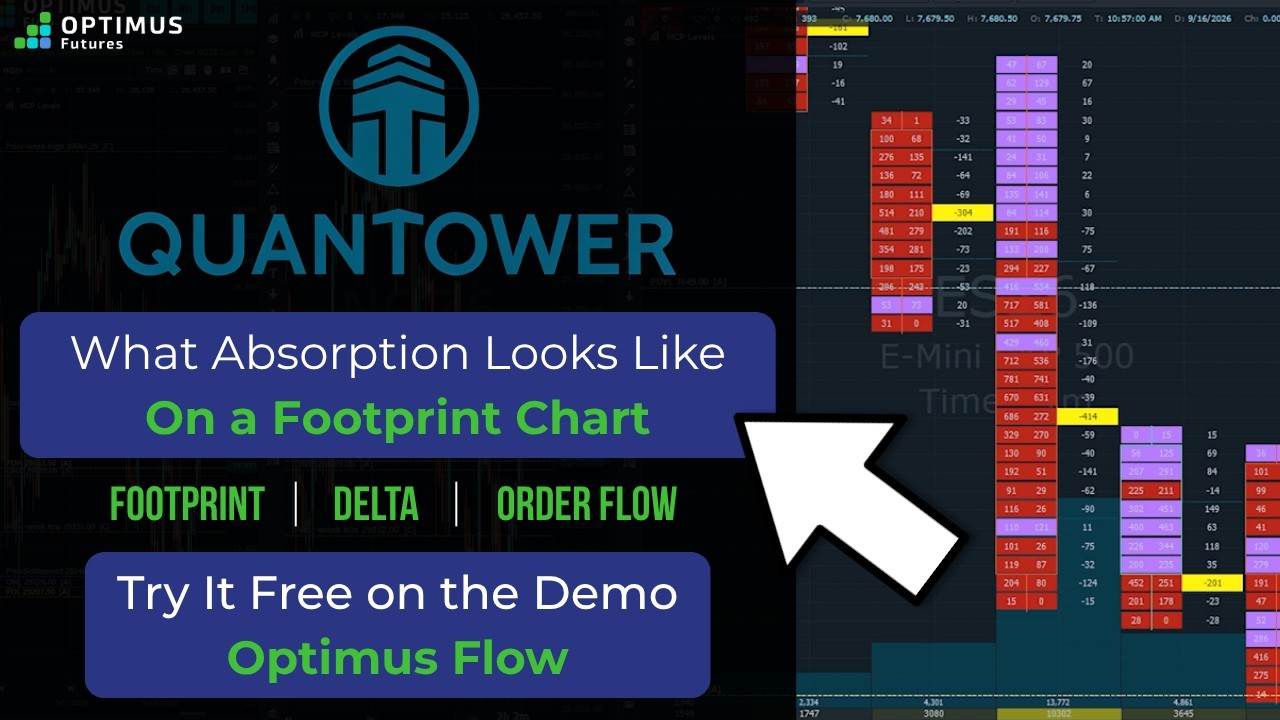
- Absorption: Heavy volume trades at a price, but price does not move through it. Sellers keep hitting the bid at a low, and the bid keeps refilling, or buyers keep lifting the offer at a high, and the offer keeps refilling.
- Exhaustion: Aggressive volume dries up at the end of a move. On a footprint chart, this often shows as shrinking prints toward the bar’s extreme.
- Delta divergence: Price makes a new high with negative delta, or a new low with positive delta. Cumulative delta, the running total of delta across many bars, shows the same disagreement over a longer window.
Each can mark an area of support/resistance or a point that precedes a price expansion.
Why These Levels Matter
For example, we can assume that where heavy amounts of buyers stepped in, buyers would likely step in again, all else being equal.
Why?
Because those same buyers could have sold into higher prices and now want to reload back at that same spot.
Similarly, you might find a block of sell orders coming through one candle after another. That could signal future price movement.
The key to any analysis is using context, or the bigger picture, to frame the trade.
Pro Tip: If you overlay a footprint chart on a bar or candlestick chart, ensure the aggregation time frames align. Put simply, if you analyze 30-minute candlesticks, the footprint analysis should also work off 30-minute blocks.
ALSO READ | Best Order Flow Indicators to Spot Buying and Selling Pressure
Footprint Trading Strategies
If you’re new to footprint trading, don’t worry.
We want to give you some trading ideas to help you get started.
Stacked Imbalances
Bid/ask profiles show how many contracts trade at the bid and ask.
When we see a lopsided stack of orders vertically in a price range, it can indicate a support or resistance level.
For example, in the chart below, we highlighted an area where buy orders outweighed sell orders. The Delta footprint chart gives us the clearest picture here.

Traders can use these imbalances to spot reversals or slow momentum in a strong price move.
Learn More about How to Identify Imbalance in the Markets with Order Flow Trading
Unfinished Auctions
Unfinished auctions are a unique trade idea specific to footprint trading.
The idea is that each price sees an auction between buyers and sellers within a candlestick/bar.
When a bar’s extreme, its high or low, shows trades on both the bid and the ask, the auction at that price is unfinished. Price often comes back to that level to complete it.
When the extreme shows zero on one side, the auction is finished. A print of 202/0 at a high means no buyer was willing to pay that price. A print of 0/17 at a low means no more sellers were willing to sell there.
For example, in the chart below, you’ll see areas highlighted where we find zero bids or asks at highs and lows. Those are finished auctions. An extreme bar without a zero is unfinished, and traders watch that level for a revisit.

Volume Profile
So far, we’ve discussed different ways to analyze the intrabar volume. Our last strategy looks for high-volume areas as points of support and resistance.
High-volume areas can act as support, resistance, and even attraction nodes for the current price.
In the chart below, we noted the price with the highest volume for that given period. Later on, you can see how price found resistance and support, albeit temporarily, at those levels.
A trader could use those prices for a scalp trade in the opposite direction or a swing trade towards those areas of liquidity.

Absorption at a Known Level
Absorption is a footprint read where heavy aggressive volume fails to move price. At a prior low, prior day’s high, or high-volume node, watch for large bid prints (sellers hitting the bid) while the bar refuses to make a lower low. That tells you passive buyers are taking everything sellers offer at that price. Some traders treat it as a reason to look for a reversal; others wait for delta to turn positive in the next bar before acting. Watch our walkthrough: Absorption | Advanced Order Flow Strategy Using Footprint Charts.
Breakout Confirmation
A footprint chart shows whether a breakout had real participation. A bar that clears a level with heavy offer-side volume, stacked buy imbalances, and positive delta had buyers paying up to get through. Clearing the level on thin volume with flat or negative delta shows the opposite, and that breakout is more likely to fail back into the range. See the video breakdown: Breakouts | Advanced Order Flow Strategy Using Footprint Charts.
Footprint Chart Limitations
Footprint charts have real limits. In thin contracts, too few trades print per row to make imbalances meaningful. Around news releases, a single burst of volume can distort every reading in the bar. And a footprint read without context, meaning a level you already marked on a higher timeframe, is just numbers. Treat footprint charts as a way to confirm or reject a trade idea at a level, not as a standalone signal.
Footprint Chart Settings: Timeframe, Row Size and Markets
Many intraday futures traders read footprint charts on 1 to 5 minute bars, or on tick or range bars that print based on activity instead of the clock. Row size, the number of ticks each row combines, matters as much as the timeframe. One tick per row is readable in the Micro E-mini S&P 500 (MES) on a 1-minute chart, while a faster market such as Micro E-mini Nasdaq-100 (MNQ) often needs 2 to 4 ticks per row to keep the bar legible.
Footprint charts work best in liquid futures contracts where enough trades print at each price to make the bid/ask comparison meaningful: E-mini and Micro E-mini S&P 500 (ES, MES), Nasdaq-100 (NQ, MNQ), crude oil (CL), and gold (GC). Thinly traded contracts print too few trades per row to show reliable imbalances.
Where to Get Footprint Charts Free
Optimus Futures clients can use footprint charts at no platform cost in Optimus Flow, Optimus Futures’ free desktop platform with no monthly platform fee. Optimus Flow includes cluster (footprint) charts with bid/ask, delta, and volume modes, plus volume profile, DOM, and TPO tools.
You can also run footprint charts in third-party platforms that Optimus Futures supports, so you can pick the display you read best:
- ATAS: built around footprint and cluster analysis, with many cluster display styles.
- Bookmap: shows executed volume as bubbles layered over a heatmap of resting liquidity, combining footprint and DOM information in one view.
- Sierra Chart: calls footprint charts Numbers Bars.
- DeepCharts: footprint charts covered in our DeepCharts Footprint Chart Guide.
For a walkthrough of free footprint chart options, watch Stop Overpaying: Unlock Free Footprint Charts Today. To set up footprint charts step by step, watch See Inside the Candle: How to Read Footprint Charts.
Real-time CME market data carries exchange fees regardless of which platform you use.
How To Start Trading Futures With Footprint Charts
If you’ve never tried them, take a test drive of footprint charts.
Optimus Futures lets you sign up for a free simulated account and practice reading footprint charts before you risk capital.
Set Up a Footprint Chart in Optimus Flow
Here’s a quick step-by-step guide to trading futures using Optimus Futures’ flagship platform, Optimus Flow.
- Open a chart: Open a Chart panel from the Optimus Flow toolbar and load a contract such as MES.
- Switch to footprint: In the chart type selector, choose Cluster. This turns each bar into a footprint bar.
- Choose your data: In the cluster settings, pick bid x ask, delta, or volume, and set the row size in ticks.
- Set up your trade: The easiest way to trade directly from your chart is to enable order chart trading. You can also open the order entry menu. Both are in the top-right corner. You can also select the ‘OE’ icon to open an order entry window.
- Place your order: Once you’re ready, place your order. Log your trade in Optimus Flow’s automated trade log, with any notes.
- Follow your trade: After you enter your position, use the ‘Positions’ window to monitor your trade (the POS icon).

What you get with Optimus Futures: footprint charts in Optimus Flow with no monthly platform fee, a choice of footprint-capable third-party platforms under one account, and micro contracts (MES, MNQ) at one-tenth the size of the E-mini, so you can apply footprint reads live with smaller position size once you are ready to move off the simulator.
Open Your Account
Footprint charts offer a new way to view the market.
Open your account today with Optimus Futures and get immediate access to our flagship platform, Optimus Flow.
For 30 days, explore every indicator, analytical style, and footprint chart Optimus Flow offers, plus a host of other functions and indicators.
Plus, you get unlimited simulated trades and access to the automated trade journal.
Footprint Chart FAQ
What is a footprint chart?
A footprint chart is a candlestick chart that shows the volume traded at every price inside each bar, split into volume that hit the bid and volume that lifted the offer. It shows which side was more aggressive at each price, not just the open and close.
How do you read a footprint chart?
Read each row of a footprint bar as one price level: bid volume (sellers) on the left, ask volume (buyers) on the right. Compare the two sides at each price, look for imbalances and one-sided prints at the bar’s high and low, and compare the bar’s delta with where it closed.
Can I get footprint charts for free?
Yes. Optimus Futures clients get footprint (cluster) charts in Optimus Flow, a free desktop platform with no monthly platform fee, and can practice on a simulated account first. Real-time exchange data fees still apply to live data.
What is a volume footprint chart?
A volume footprint chart shows the total contracts traded at each price inside a bar without splitting them into bid and ask. It highlights where the heaviest trading happened, helping traders spot high-volume prices that may act as support or resistance.
What is delta on a footprint chart?
Delta on a footprint chart is ask volume minus bid volume, at a single price or for the whole bar. Positive delta means buyers lifting the offer were more aggressive; negative delta means sellers hitting the bid were more aggressive.
What is the best footprint trading strategy?
No single footprint strategy works in every market. Common footprint setups include stacked imbalances, unfinished auctions, absorption at a known level, and breakout confirmation with delta. Each works best when tied to a level you already identified on a higher timeframe.
Trading futures and options involves substantial risk of loss and is not suitable for all investors. Past performance is not necessarily indicative of future results. The placement of contingent orders by you or your broker, or trading advisor, such as a ‘stop-loss’ or ‘stop-limit’ order, will not necessarily limit your losses to the intended amounts, since market conditions may make it impossible to execute such orders.
Simulated trading does not represent actual trading. Simulated account results are based on hypothetical conditions and may differ significantly from live trading because of liquidity, execution, and the psychological impact of risking real money. Chart examples in this article are for illustration only.